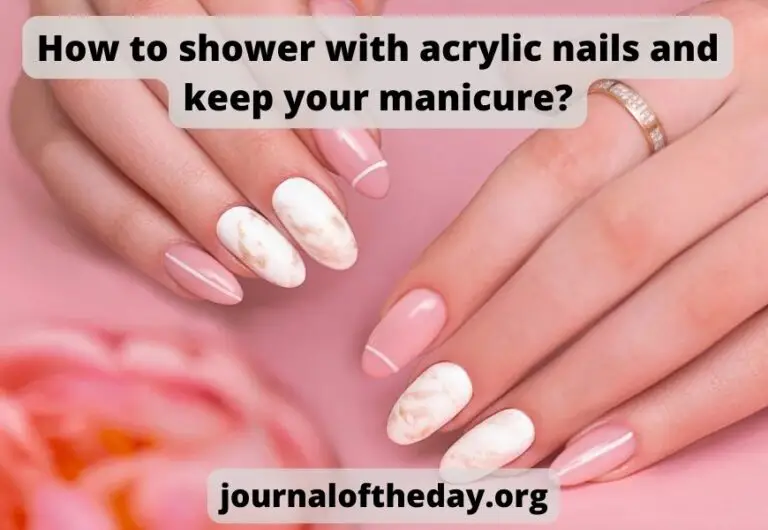
Why & How To Make Press On Nails to Make Conversions
How to make press on nails is very important to learn as it can make conversions easily as people look for them most of the time. If we see it from a different view anyone who wants can make money by making press on nails.
Press-on nails come in a wide variety of shapes, sizes, and colors. Obviously, not all sets are established on an even playing field. There’s a proper procedure for how to make press on nails for your business and for yourself.
Why Should You Use Press On Nails?
Using press on nails is associated with most of the benefits that everyone should know before they read this article about how to make press on nails. Let’s know them;
Press On Nails Are Time Savers
Putting on a press-on is a simple and quick process that can be completed in under 30 minutes.
Easy Wearables for Events
You may wear the press on nails as per relevancy to festivals and occasions as they’re painted accordingly.
Dependable Life Time
You may decide the duration of life of your press-on by yourself
Reusable!
Were you crazy with your nail art a few weeks ago? In a month, you can make that comeback!
Committed to Reliability!
The press on nails get chipped if cured properly.
Cost Friendly
They saves you money by being easier to apply and remove than gel or acrylic. less expensive than regular trips to a high-end manicure salon. Just use them twice and you’ve already made your money back!
How To Make Press On Nails?
Finally, when you’re all aware about why should you use press on nails & if you’re ready now to create press on nails to earn. Let’s get started what supplies will you need and how to make press on nails;
Supplies that you will need:
- Artificial Nails
- Gel Base Coat
- Nail Stands
- No Wipe Top Coat
- UV Gel Polish Any Color
- Buffer
- Filer
- Poster Tack
- Alcohol
- Cotton rounds
- UV lamp
Procedure Involved
Below is the procedure that you may proceed with using the above supply for how to make press on nails.
1. Choose on desired nail shape
You will need to begin by selecting a shape for your nails before you can go on to the next step. Some common options include coffin, ballerina, stiletto, oval, square, etc.
These types are offered in a number of lengths, including short, medium, long, and extremely long, as well as a number of sizes. Additionally, there is a selection of sizes available. You may get two of each size if you are unsure of which one best fits you.
2. Time to Buff Your Press On Nails
In order to get rid of the shine on the tips of these nails, a quick buffing will do the trick. Each of your nails has a little plastic tab at the very tip; to get rid of it, gently file the nail straight across and back and forth to get rid of the tab.
Be careful not to remove too much material while filing; we’re only attempting to get rid of the pointy end. This may be done either before or after the nails are set on the nail stand, but I find it to be the former.
If my nails can’t shift around on the stand, I can get a better buff and file going on them much faster.
3. Now, Wipe out Buffed Tips
You can’t skip this step, since doing so may cause your polish to seem rough, which is not the desired result.
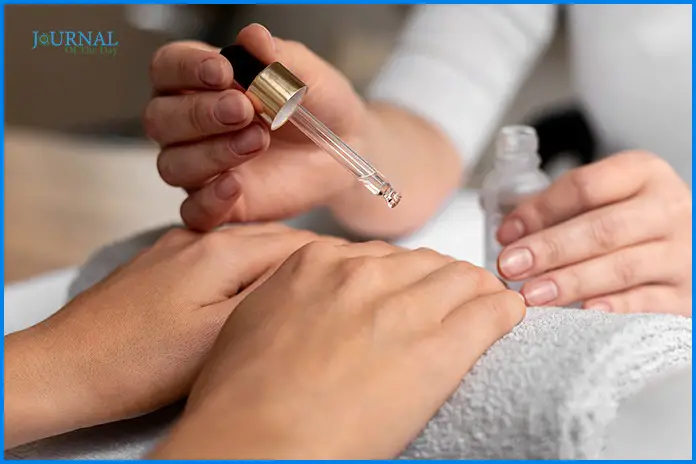
Let’s get started on our journey to a nice, smooth nail. You should use the rubbing alcohol and cotton ball you have to clean each nail.
4. Prepare Your Nail Stands
The 4th step in the journey of how to make press on nails is sealing with preparing nail stands. First, let’s get our nail stands ready, and then we’ll put on the nails.
Here is when the poster tak comes in handy. The poster tak is essentially a reusable putty that comes in a rainbow of hues. It can be attached to almost anything and held in place with only a little bit of force.
Take the little balls of poster tak and evenly apply the finish to each nail stand. Your nail will stay in place as you polish it. It will also help keep your fingernails in place on the nail stand.
When you become used to pushing on nails, you may discover that you like more or less than the amount I use; I consider this to be a matter of preference
Tip: If I were you, I’d invest in many nail stands at the same time. If you take my advice and start selling, you will be very happy you did. This will help you save a ton of time.
5. Start With a Gel Base Coat.
The nails may go on stands once they have been polished and cleaned with an alcohol wipe.
Lightly stomp on them to hold them in place. I find it beneficial to line them up in a certain order, from thumb to pinky, so that the pattern I’m working on doesn’t become muddled up.
Let’s start by priming the surface so we can polish it to perfection.The base coat ensures that the polish has something to stick to.
This technique might help you avoid chips in your nail polish. Since the base coat is already bonded to the nail, the polish won’t chip or peel. Smoothness of the nail is a desirable quality, and these steps help achieve it.
6. Now Add Your Polish
Polishing the nail from the cuticle to the tip is most effective if you begin at the nail’s center.
Next, start at the left cuticle and work your way to the nail’s tip, reversing direction on the right side. Use fluid motions to do this.
Make sure there is no nail paint below each nail afterward. If so, take it out of there before putting it under the UV light.
For a flawless finish free of bumps and waves, always wait a few seconds after applying polish before putting nails under a UV Lamp for the recommended 60 seconds.
As a starting point, I would suggest polishing all the nails on the first stand, then placing that stand under the UV light for 60 seconds before moving on to the next stand.
With two sets curing simultaneously, you’ll never have to choose between getting things done or getting things done. To achieve success, it is necessary to use intelligence rather than brute force.
Tip: If the gel paint you choose is very opaque, you may need to apply a second thin layer to all of your nails and cure it for an additional 60 seconds.
7. Applying The Top Coat
When the second layer of gel paint has dried completely, the following step is to apply a no wipe gel top coat to make the nails shiny.
Last Note!
I hope you guys found this tutorial for how to make press on nails easy to follow along and that I have inspired you to go ahead and try creating your first set of press on nails. It may seem like a lot at first, but trust me guys, it gets easier and easier. In no time you’ll be a pro!
Now, you finally know all the involved steps during the journey of how to make press on nails.
Read also: