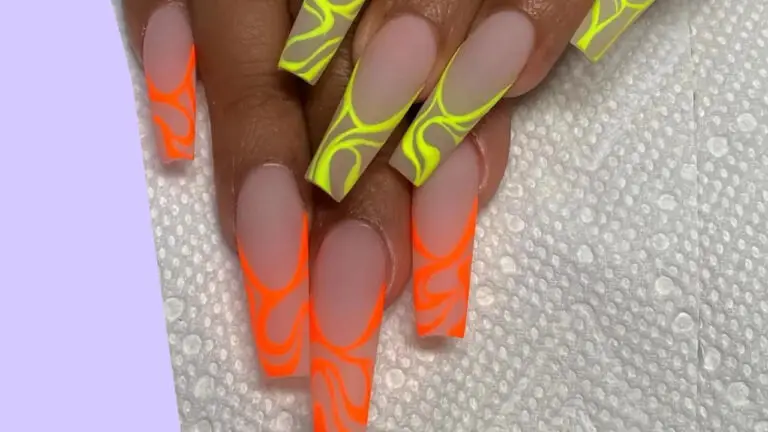
10 REASONS WHY YOUR GEL POLISH COMES OFF QUICKLY

Is your gel polish peeling off within a week? This shouldn’t be happening, and there are several reasons why it might be occurring. Here are some insights and tips to ensure your gel polish stays put for longer.

#1 INCORRECT OR OUTDATED LAMP USE It’s crucial to use the right lamp for curing your gel polish. Not all lamps are created equal, and using the wrong one can lead to poor results. For example, our Pink Gellac LED lamps are designed specifically for our products, which are optimized for lower wattages (7-12 Watts). Using a lamp with too high wattage can prevent proper polymerization of the gel, leading to under-cured polish that resembles an overbaked outer layer with an uncooked middle. Remember, an older lamp might also lose its effectiveness—consider upgrading if yours is over five years old. Check out our range of lamps and find the best one for you.
#2 IMPROPER NAIL PREPARATION The mantra “Preparation is key” rings especially true in nail care. Skipping steps in your prep routine can lead to suboptimal results. Make sure to gently polish the nail plate using a Polishing Block or a 180-grit nail file, then degrease the nails thoroughly with a dedicated Cleaner. Avoid using products like acetone or regular nail polish removers that contain oils or moisturizing ingredients, as these can interfere with the adhesion of gel polish. Also, apply a Prep Booster before the base coat to neutralize any residual oils, enhancing the longevity of your manicure. Remember to avoid direct contact with warm water and refrain from applying creams or oils to your hands and nails before and after application.

#3 WRONG PLACEMENT IN THE LAMP A common mistake is not positioning your hands correctly under the lamp. This issue is often noticeable with the thumb, where improper placement can result in uneven curing. Keep your fingers flat and centered under the light to ensure uniform exposure. If using our compact LED lamp, cure four fingers at a time and do the thumb separately. Our premium LED lamp includes a middle finger recess to guide your placement, helping you achieve perfect curing every time.
#4 WEAK OR DAMAGED NAILS If your nails are damaged or weakened, they may be more flexible, which complicates the adhesion of gel polish, leading to peeling or chipping. It’s advisable to give your nails a break from gel polish now and then. Use a product like Nail Recovery to nourish and strengthen the nail plate. You can learn more about its benefits and how to use it effectively.
By addressing these common issues, you can significantly improve the longevity and appearance of your gel polish manicure. For further guidance, don’t hesitate to explore detailed tutorials on achieving the perfect nail prep and application.
#5 AVOID USING NAILS AS TOOLS It’s tempting to use your nails as a makeshift tool, but doing so can compromise your manicure. Instead of prying, scraping, or peeling objects with your nails, reach for the proper tool like scissors. Remember the mantra: “Work smart, not hard, baby.” Protect your nails by using the right tools for the job.
#6 PROPERLY SEALING YOUR NAILS Many overlook the importance of sealing gel polish with a Top Coat, especially on shorter nails. To prevent lifting or peeling, apply the top coat thoroughly across the entire nail, including edges, sides, bottom, and especially the tips. If you notice the manicure lifting at the nail tip, it’s a sign that the gel hasn’t been properly sealed. For better coverage on short nails, gently peel back the skin under the nail to apply the top coat properly. Be careful to remove any gel that spills onto the skin and avoid filing your nails right after applying the top coat, as it may strip away the protective layer.
#7 CHOOSE THE RIGHT BASE COAT We offer a variety of Base Coats because each type is formulated for different nail needs. While all our base coats are versatile, you might find one that works particularly well for your nail type. Experiment with different options to discover which base coat provides the best foundation for your manicure.

#8 APPLY GEL POLISH IN THIN LAYERS Applying gel polish too thickly can lead to issues like wrinkling under the lamp or quicker chipping. A thick application may not cure properly, leaving a soft layer beneath the hardened surface which compromises adhesion. It’s more effective to apply two thin layers rather than one thick layer, and similarly, opt for three thin layers over two thick ones. Remember, curing the color longer in the lamp doesn’t compensate for too-thick polish.
#9 AVOID MIXING BRANDS Using products from different brands can lead to suboptimal results, as their formulas and curing requirements might differ. For the best outcome, stick to the same brand for all your gel polish needs, ensuring that the products are designed to work together.
#10 MANAGE NAIL BITING AND PICKING If you tend to bite or pick at your nails, this habit can significantly shorten the lifespan of your manicure. Being conscious of and curbing this behavior can not only help maintain your manicure but also improve the health of your nails over time. Wearing gel polish might even discourage you from biting your nails due to its texture and taste.